
How about now?

Is that a little clearer? Look like cheesecake?
Like Red Velvet Cheesecake?
Yep! That's right! Last week we did a heart-shaped Red Velvet Cake with French Silk filling and Mascarpone Cream Cheese frosting. And this week we hit Red Velvet one more time for cheesecake.
Now please keep in mind that a) I am not a red velvet fan; and b) I am not a cheesecake fan. But this is all about another Valentine's cake - but not quite as extravagant as last week's. And what says Valentine's more than something red and creamy?
And I have to say that I liked it. It was yummier than I expected, a great way to close out our Valentine's Day baking options. I could taste the cocoa, but it didn't taste like a chocolate cheesecake. The texture was smooth and sweet on my tongue and as satisfying as cheesecake ever is for me. I don't have a large "spot" inside that hungers for cheesecake, and too many cheesecakes don't really hit that spot, but this one did!
By the way, next Friday is Valentine's Day, but we already did a Valentine's Day pie, so I have a non-Valentine's Day pie in mind, but more on that next week!
This week is all about Red Velvet Cheesecake! G was the first one to taste Wednesday night. I baked it on Tuesday evening and let it chill a full 24 hours before cutting. Suffice it to say - one piece was not enough for G! He called this a keeper, a repeater, and he wanted me to reserve another piece for him before taking it into work. So the poor folks at work got a cheesecake minus two pieces. Hence it was gone before 9am!
Here are the comments - and I didn't hear a single negative comment on this one...it is THAT indulgent!
"3 thumbs up!" (Think about it...we're not sure where the person was getting her 3rd thumb, but...)
"You outdid yourself this time!"
"Are you sure this is red velvet? And are you sure this is cheesecake?" Spoken by someone after my own heart who is neither a red velvet nor a cheesecake fan like me, but this? This was good.
"Call your husband and tell him you're being kidnapped."
"Awesome!"
"I need the recipe. My husband loved Red Velvet and Cheesecake, so he will love this!"
"I think I speak for every man on this email chain when I ask, 'will you please bake my wife's valentine's day present for me?'"
"Speaking up for the ladies; she can do the same for us."
"Creamy texture - not crumbly. Like a cheesecake should be. Crumbly cheesecakes aren't worth the calories."
"Not heavy like a lot of cheesecakes."
"The crust is the perfect complement for the filling."
"You will always have a place at our company. Business may tank, but you will be one of the last three people to be let go." (Except I screwed up a bit late on Wednesday, so I am aware that there's no such thing as absolute job security...)
Are you sold yet? Do you want to see the recipe and how it's made? It isn't hard, folks. I promise you. If I can do this, you can. Ready?
I based what I did on this recipe from My Recipes.com and Southern Living. Here are the ingredients that I used:
Crust:
2 cups of brownie crumbs
1/4 cup of butter
Now the brownie crumbs were from a bad batch of dulce de leche brownies that were edible but not good. So I ground them up in a food processor and froze those crumbs, ready for this cheesecake. I mixed them with melted butter and pressed them into the pan.

I wrapped the bottom in 2 - 3 thicknesses of heavy duty foil...


See how pretty?

Filling:
3 - 8oz pkgs. cream cheese softened
1 1/2 cups of sugar
4 eggs
3 T. unsweetened cocoa
1 cup sour cream
1/2 half-n-half
1 teaspoon vinegar
Splash of vanilla and almond
3 teaspoons of gel red food coloring
I placed the cream cheese in the bowl of my mixer. And look at this?


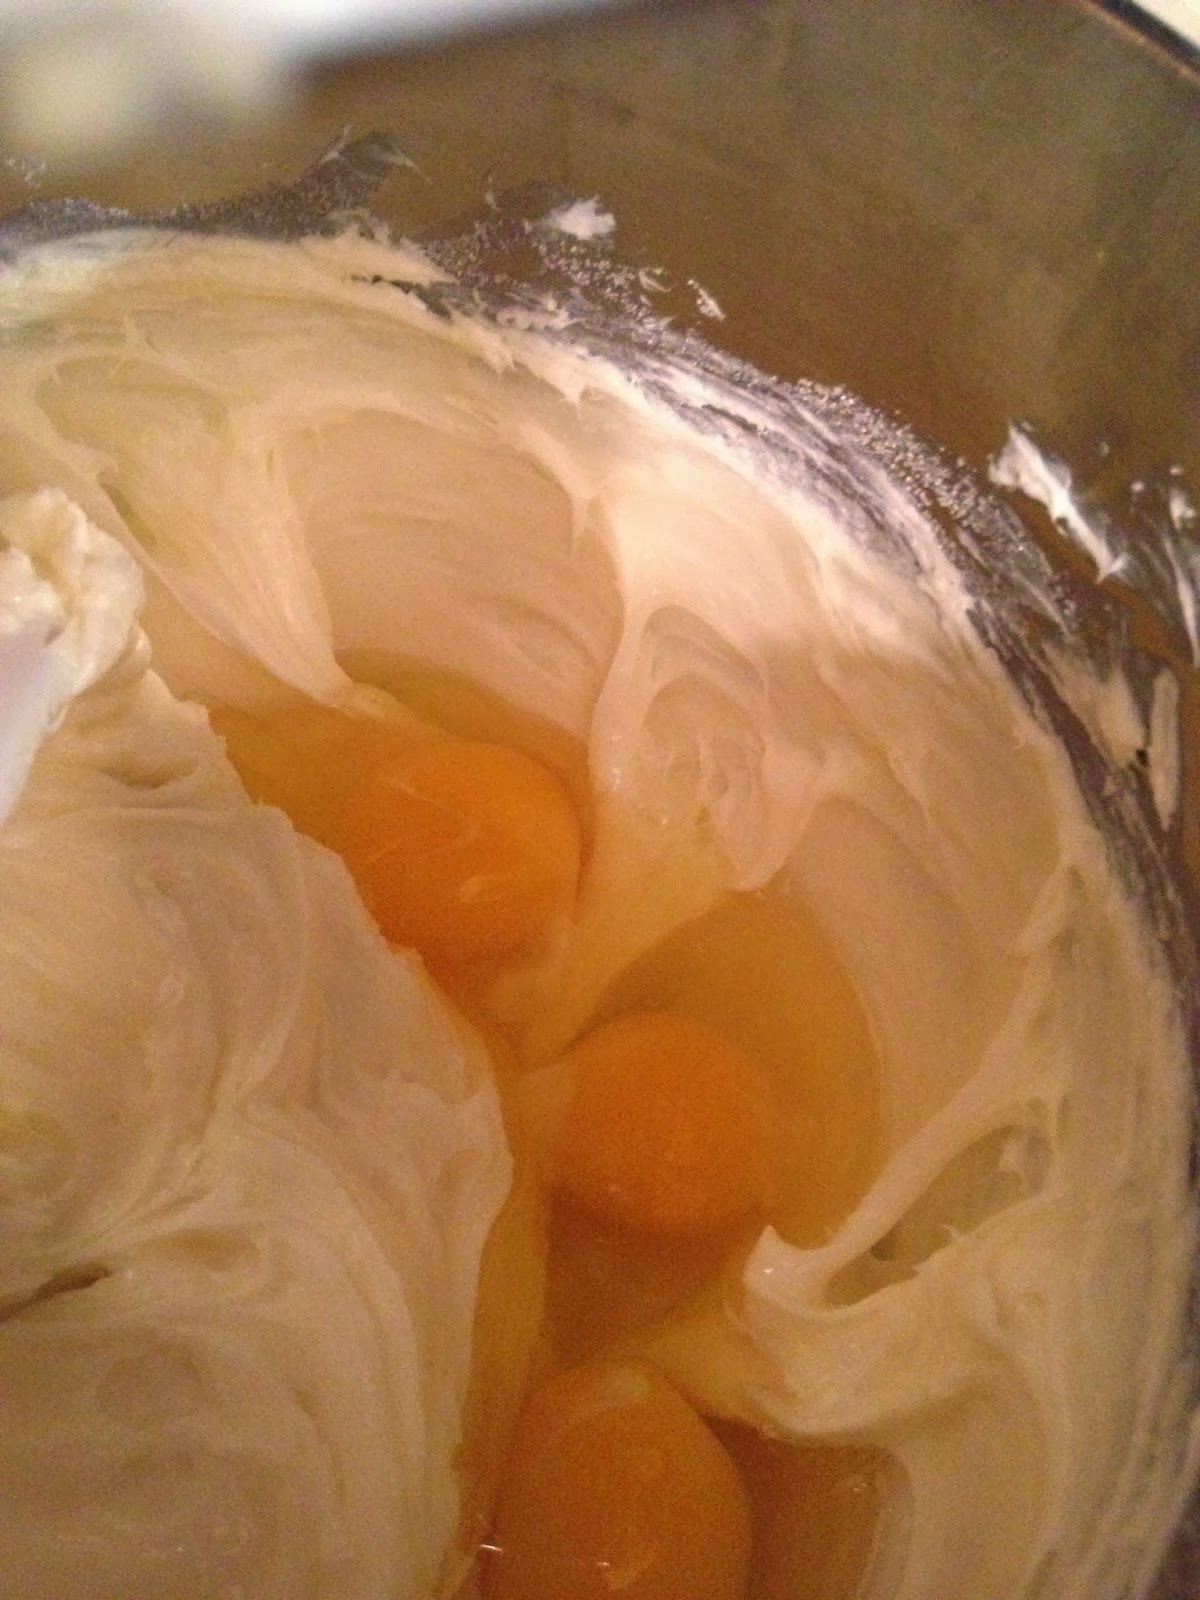


And eventually after mixing a bit more, I had a red color I liked!


- 10 minutes at 325 degrees
- 1 hour and 15 minutes at 300 degrees
- Turn the oven off and let the cheesecake cool slowly in the oven for 30 minutes
- Remove from the oven (and the water bath) and let cool to room temperature.
Look at how pretty! Not a crack! How cool is that???!!!

I covered it lightly and let is rest in the fridge for 24 hours. Shhh...sleep well, RV cheesecake.
The original recipe uses a cream cheese frosting, and a rather large amount of it, but it gets mixed reviews online, so I decided to garnish with the last of the mascarpone cream cheese frosting I had leftover from last week, and I think it was just about the right balance. G definitely preferred the bites WITH the frosting over the bites without the frosting, but he liked the frosting on the lesser side rather than the heavier. I guess I would say - frost to taste....or even perhaps thin it out a bit and offer it on the side for individuals to add to their taste. You can always garnish with a sweetened whipped cream or sour cream, as well, but the cream cheese frosting is a nod to traditional red velvet cake, and more folks than only G found the frosting flavors quite complimentary to the red velvety, slightly cocoa-y yummy goodness of the cheesecake itself!
And behold! It was ready to cut and enjoy! This is one of those treats that you don't want to devour. You want to pay attention and truly taste every morsel. I think you'll enjoy it if you try it yourself!

I hope you found something in this past 5 entries of Valentine's Day inspired baking to get you baking a special treat for your honey! Happy Valentine's Day everyone! Thanks for stopping by!

No comments:
Post a Comment